How to Design a PCB Printed Circuit Board for Beginners?
Designing a PCB printed circuit board can seem daunting for beginners. However, it's a skill that is essential in today’s tech-driven world. According to a recent report by IPC, the global PCB market is expected to exceed $80 billion by 2027. This indicates a growing demand for professionals skilled in PCB design.
Creating a PCB printed circuit board involves understanding both basic concepts and advanced techniques. Many beginners struggle with layout optimization and component placement. This is where practice and research become vital. Acknowledging mistakes during the design process is part of learning. For instance, a small error in tracing can lead to significant functionality issues.
Moreover, utilizing design software can enhance learning. However, software alone does not guarantee success. Experience, trial, and error guide improvement. Understanding the fundamentals of electrical engineering principles is equally important. Beginners should not rush the learning process. Responsible design requires patience and careful thought. By focusing on these aspects, newcomers can build a solid foundation in PCB printed circuit board design.
Understanding the Basics of Printed Circuit Board (PCB) Design
Designing a printed circuit board (PCB) requires a solid understanding of fundamentals. A PCB is essential in modern electronics. It connects various components, ensuring efficient communication. According to industry reports, the PCB market is projected to grow by 6.1% annually. This growth reflects increasing electronic device demand.
Beginners often struggle with layout and design rules. A common mistake is not considering component placement. Each component must fit well, minimizing interference. Complex designs may lead to routing issues. Reports suggest that 25% of PCB failures happen due to poor design. It’s crucial to iterate designs. Prototyping can reveal flaws early on.
Understanding basic design principles is vital. Keep traces as short as possible. Wider traces can handle more current. Yet, beginners sometimes underestimate these details. They may also forget to check for signal integrity. Proposed guidelines indicate maintaining a proper ground plane can help. However, not all designs follow this. Mistakes can be learning opportunities. Adjustments based on real-world testing refine your skills.
Essential Tools and Software for PCB Design Beginners
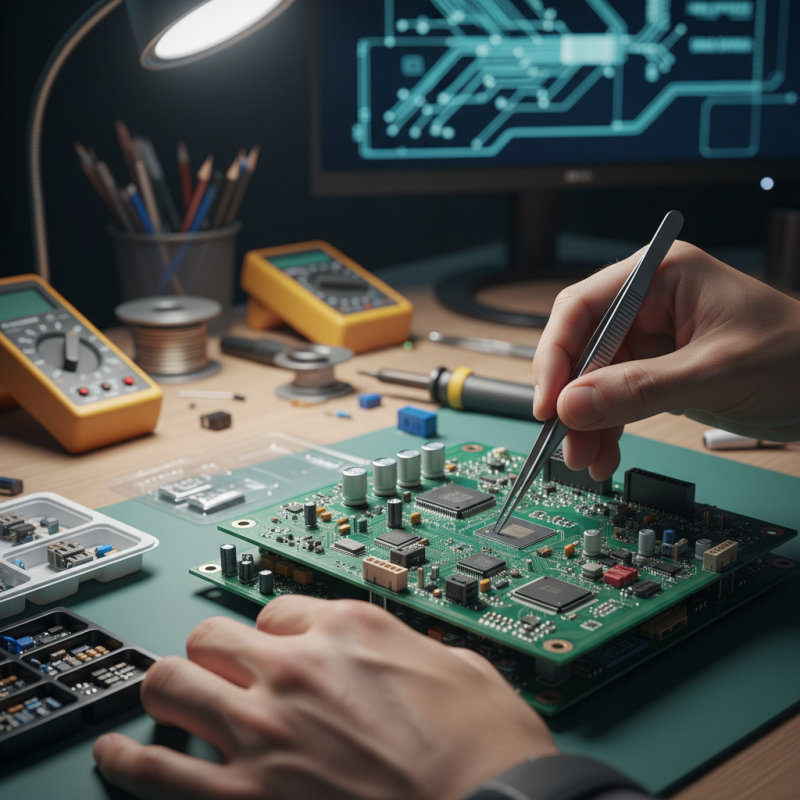
When starting with PCB design, it's crucial to have the right tools and software at your disposal. Many beginners opt for intuitive software that provides user-friendly interfaces. Look for packages that offer drag-and-drop features. This can make layout creation less daunting. Free software tools are widely available, allowing you to explore designs without breaking the bank. However, free options may come with limitations.
Aside from software, essential tools include a good soldering iron and a multimeter. Crafting precise connections is vital. A ruler and a set of wire strippers should also be in your toolkit. This basic equipment will help in your first DIY projects. Yet, it’s easy to underestimate the importance of patience and practice. Designs may fail initially, leading to frustrations. Each mistake, however, can teach you valuable lessons. Embrace the learning curve; it will refine your skills over time.
Don’t overlook the community aspect either. Online forums and local workshops can provide additional support. Engaging with others can bring new insights. However, navigating through diverse opinions can be overwhelming. You might find conflicting advice. It’s best to filter what resonates with your approach. Your journey in PCB design will be unique, and reflection will help guide your progress.
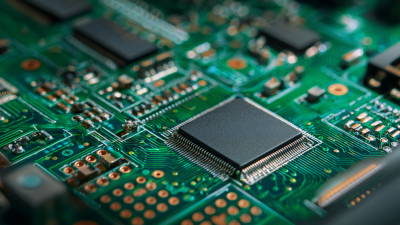
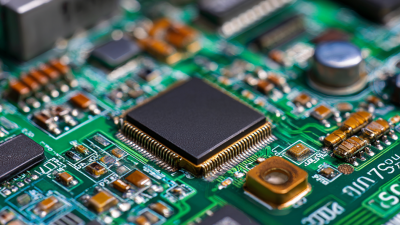
Key Components and Materials Used in PCB Manufacturing
When designing a PCB, understanding key components and materials is crucial. A printed circuit board typically consists of a substrate, conductive traces, and components. The substrate is usually made of fiberglass or epoxy resin. This material provides insulation and rigidity. It is important to choose a substrate that matches the intended application.
Conductive traces on the PCB allow electrical signals to flow. These traces are made from copper. However, it is essential to note that the thickness of the copper can impact the performance. Thicker traces can handle more current but require more space. Thus, making compromises is often necessary. Proper width specifications are vital. An incorrect width can lead to overheating or signal loss.
Components like resistors, capacitors, and microcontrollers play significant roles in PCB design. Resistors limit electrical current, while capacitors store charge. Sourcing high-quality components is often a challenge. It's easy to overlook the long-term reliability of cheaper options. Each choice can affect the overall functionality of the circuit. These decisions often require careful consideration and testing. This process of trial and error can be frustrating but is necessary for creating an efficient PCB.
PCB Manufacturing Process: Key Components and Materials
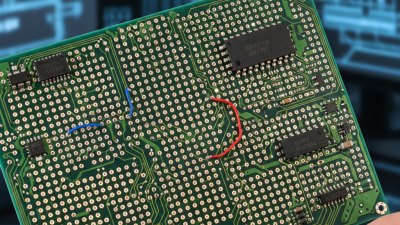
Tips for Testing and Troubleshooting Your PCB Design
Testing and troubleshooting a PCB design is crucial. A report by IPC states that over 60% of PCB failures are due to design errors. These errors can stem from poor layout or incorrect component placement. To minimize mistakes, always double-check your schematics and ensure that the connections are correct.
When testing your PCB, using a multimeter can be helpful. This tool allows you to measure voltage, current, and resistance accurately. If you find unexpected readings, it might indicate a short circuit or an open connection. Don't overlook the need for a thorough visual inspection. Often, human error leads to solder bridges or cold joints that can disrupt function.
Keep in mind that prototypes are often imperfect. Conducting multiple rounds of testing is common. One study highlighted that nearly 70% of engineers encounter issues during their first prototype tests. Learn from these challenges. Iterate your design based on feedback. Reflecting on what went wrong is key to creating a successful PCB in the future.