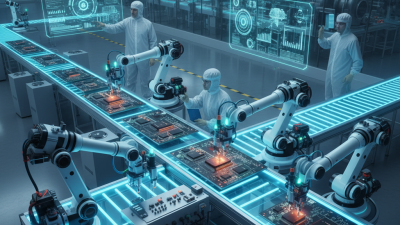
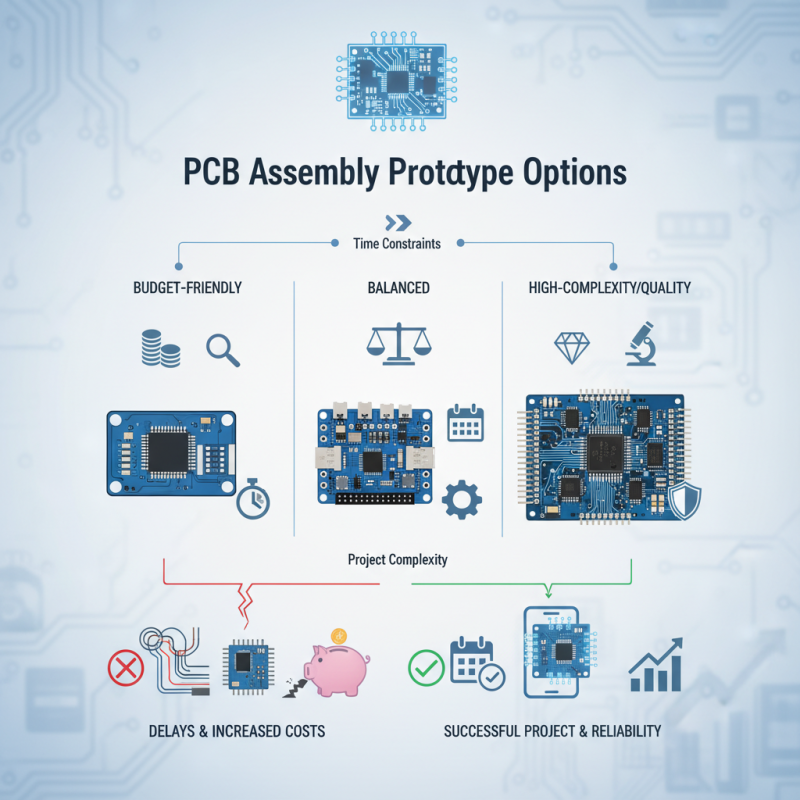
In the rapidly evolving electronics landscape, the demand for efficient PCB assembly prototypes is at an all-time high. Expert Michael Chen, a veteran in the PCB assembly industry, emphasizes, “Creating an effective prototype is crucial for any successful project.” For engineers and designers, selecting the right PCB assembly prototype can make or break a project.
This critical decision involves evaluating various options based on budget, time constraints, and project complexity. Many people overlook the implications of choosing the wrong service. They might encounter delays or increased costs, which could jeopardize their timelines. Each choice provides unique advantages and presents distinct challenges.
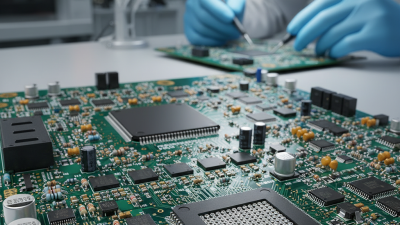
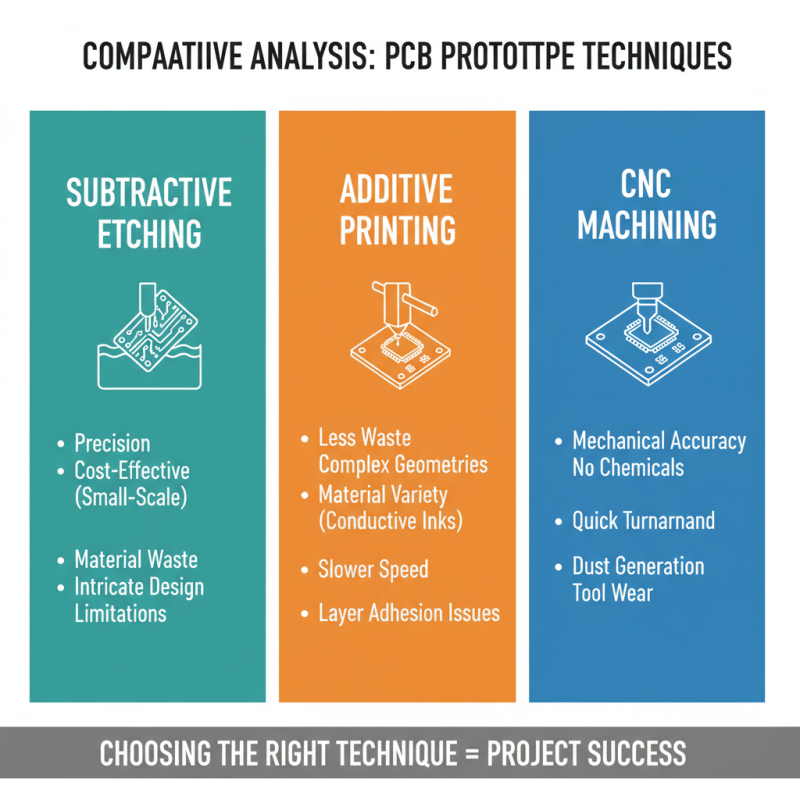
Quality and reliability are vital when developing a PCB assembly prototype. Not all services will meet the same standards. Some might deliver faster but lack the precision needed for intricate designs. Therefore, thorough research is essential. Take the time to assess your specific needs against the capabilities of potential suppliers. Every step in this process plays a significant role in achieving the desired outcome for your project.
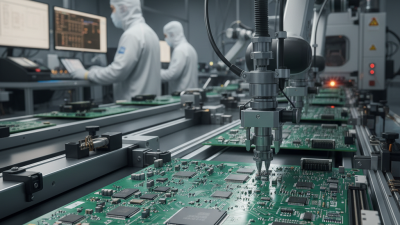
Understanding PCB assembly prototypes is essential for successful project execution. A prototype serves as a preliminary model to evaluate design and functionality. Before diving into production, creating prototypes allows engineers to identify potential flaws and make improvements. This early testing phase can save time and money in the long run.
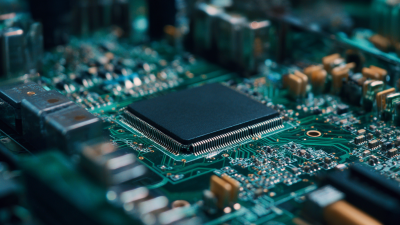
When selecting a PCB assembly prototype option, it's crucial to assess factors like complexity and volume. High-density and intricate designs may require specialized assembly processes. Conversely, simpler projects could benefit from more straightforward options. Always consider the availability of resources and time constraints. Not every prototype will be perfect on the first attempt—iteration is a natural part of the design process.
Pay attention to the feedback received during testing. Implementing changes based on real-world performance can enhance your final product. Collaboration with skilled engineers can provide valuable insights. Learning from mistakes and refining your approach will foster innovation. Embrace the challenges of PCB assembly prototypes; each step offers valuable lessons for future projects.
When selecting a PCB assembly prototype, several key factors come into play. Understanding the project requirements is crucial. Different prototypes serve various purposes. Whether you need a quick turnaround for testing or a reliable build for production, define your needs clearly. Prototyping requires a balance between cost and quality. Sometimes, opting for a cheaper option may compromise functionality.
Additionally, consider the design complexity. Complex designs often require more expertise for assembly. For example, intricate layouts may need skilled technicians and advanced equipment. Evaluate the assembly capabilities of potential suppliers. Communication also plays a significant role. Can they understand your specifications without ambiguity? Regular updates during the process can prevent misunderstandings.
Lead times are another essential factor. Some suppliers may promise swift delivery. However, verify their track record on this. Delays can derail project timelines. Flexibility in revisions should not be overlooked. Unexpected issues may arise, making it vital to adapt your design. Reflecting on past projects can help identify these concerns early on.
This chart represents the various PCB assembly prototype options available in 2026, focusing on their costs and lead times. The data illustrates key factors to consider when selecting a prototype for your projects.
Selecting the right PCB assembly prototype provider for your project is crucial. Many businesses often overlook this step, focusing instead on final product costs. According to industry reports, nearly 70% of product delays can be traced back to poor PCB assembly quality. This highlights the importance of choosing providers wisely.
In 2026, leading PCB assembly providers offer several unique features. Many emphasize rapid prototyping, allowing engineers to conduct tests in shorter timeframes. A recent study indicated that prototypes built quickly can reduce overall project time by up to 40%. Moreover, these providers often employ advanced technologies like automated assembly and AI-driven quality control, ensuring precision.
While it’s tempting to opt for the lowest-cost provider, this can lead to future complications. Companies may face unexpected costs due to rework or defects. Additionally, not every provider excels in customer support. This is a critical factor; quality communication during the assembly process can significantly enhance the outcome. Thus, reflecting on both features and hidden pitfalls is essential.
When it comes to PCB assembly prototypes, selecting the right technique can make or break your project. Techniques like subtractive etching, additive printing, and CNC machining each offer unique advantages. For instance, subtractive etching is widely used for its precision and cost-effectiveness in small-scale productions. However, the process can lead to material waste, and sometimes intricate designs may not transfer well.
Additive printing is another alternative that has gained traction. It allows for complex geometries and rapid prototyping without the extensive setup often required for traditional methods. Nevertheless, the material options can be limited, and durability might not match that of etched boards. CNC machining stands out for its ability to create high-detail designs, but it's usually more time-consuming and can inflate project costs.
Tips: Always validate your material choice against your project's requirements. For example, consider thermal stability and conductivity. Also, test your prototypes early. This can reveal design flaws before full-scale production. Keep learning from each prototype iteration to refine your approach. Embrace the imperfections; they're valuable insights for future designs.
When designing PCB prototypes, several best practices can lead to more effective outcomes. One critical aspect is thorough planning. Start with a clear schematic that outlines your circuit’s function. Make sure to review and revise it multiple times. Mistakes at this stage can lead to costly redesigns later.
Another essential practice is to use appropriate materials tailored to your project’s requirements. Consider the thermal and electrical properties needed. Using high-quality components can prevent failures. Furthermore, keep the layout simple. Complex designs can complicate manufacturing and increase chances of error. Take time to optimize component placement and trace routing.
Testing is an indispensable step. Prototyping requires iterative testing to identify weaknesses. Create multiple iterations based on feedback. Learn from failures; they can reveal design flaws. Reflect on your choices and continuously improve. Allow time for revisions as the design evolves. This mindfulness can lead to more robust and reliable prototypes.
| Prototype Type | Lead Time | Cost ($) | Layer Count | Max Size (mm) | Materials Used |
|---|---|---|---|---|---|
| Standard PCB | 5-7 days | 50 - 100 | 1-4 | 300 x 200 | FR-4, CEM-1 |
| Multilayer PCB | 10-15 days | 100 - 250 | 4-12 | 400 x 300 | FR-4, Rohs |
| High-Frequency PCB | 15-20 days | 300 - 500 | 2-8 | 250 x 150 | PTFE, FR-4 |
| Flexible PCB | 7-12 days | 150 - 300 | 1-4 | 200 x 100 | Polyimide, FR-4 |
| Rigid-Flex PCB | 15-25 days | 400 - 800 | 4-10 | 300 x 200 | Polyimide, FR-4 |